
Skype is required to take my services. Read through the contents below and prepare for our smooth communication.
Table of Contents
- How to check the sound
- About group chat
- If you haven’t installed yet
How to check the sound – 3 Steps
Before the service start, make sure to do the sound check.
STEP 1: Sound check on Skype
[colwrap] [col2]If you are new to Skype, make sure to do the sound check.
Chick “Echo/Sound Test Service” on Skype screen
- Use a headset or ear-phones with microphone if necessary.

STEP 2: Click “call” to test call
[colwrap] [col2]Click “call” button to do a test call.
[/col2] [col2]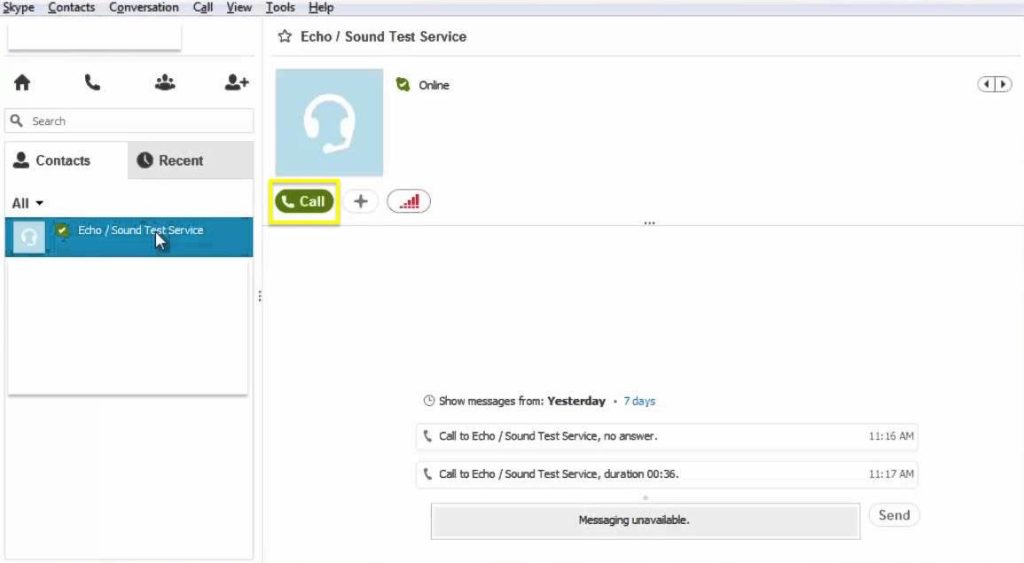
STEP 3: Check if you can hear your own voice
[colwrap] [col2]Follow the voice instruction.
If you hear your own voice, then the test is all done.
[/col2] [col2]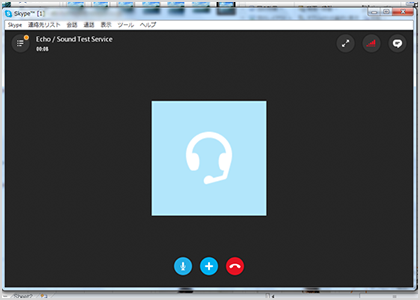
If the sound is not played
Check below if you cannot hear the sound
- Is a headset correctly connected to a microphone plug?
- Check the volume of a microphone and sound. Check if it’s not muted.
- Check if the setting is enabled from Windows > Control panel > Hardware and sound > Audio device management
- Check if the sound is correctly set on Skype by clicking Tools > Setting > Audio Setting
If you are still facing trouble, the issue might be on the speaker of headset itself. Check if the headset works on other PCs.
Also, you can check from websites below.
- Troubleshooting issues with Skype quality
- How do I change audio and video settings in Skype on desktop?
- What are the system requirements for Skype?
Instruction to download Skype
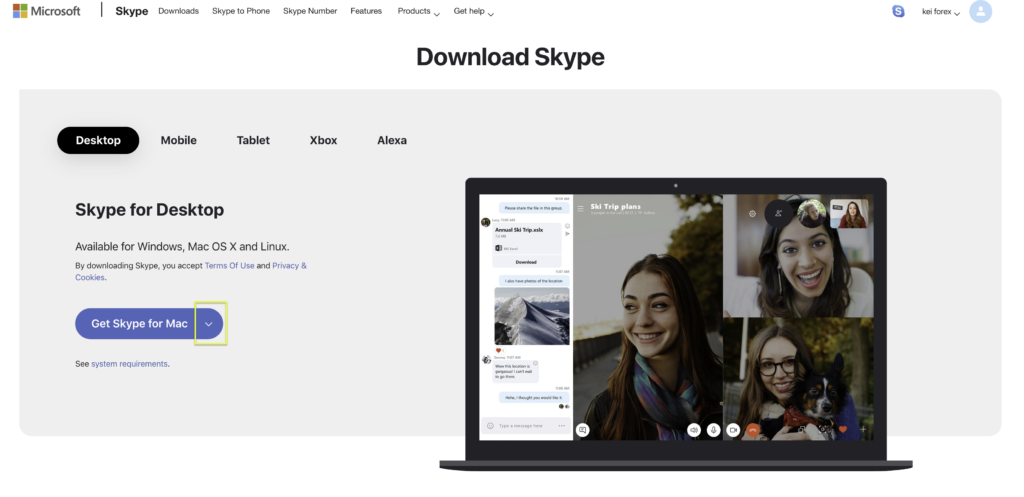
STEP 1: Go to Skype official website and download the software
Go to Skype official website.
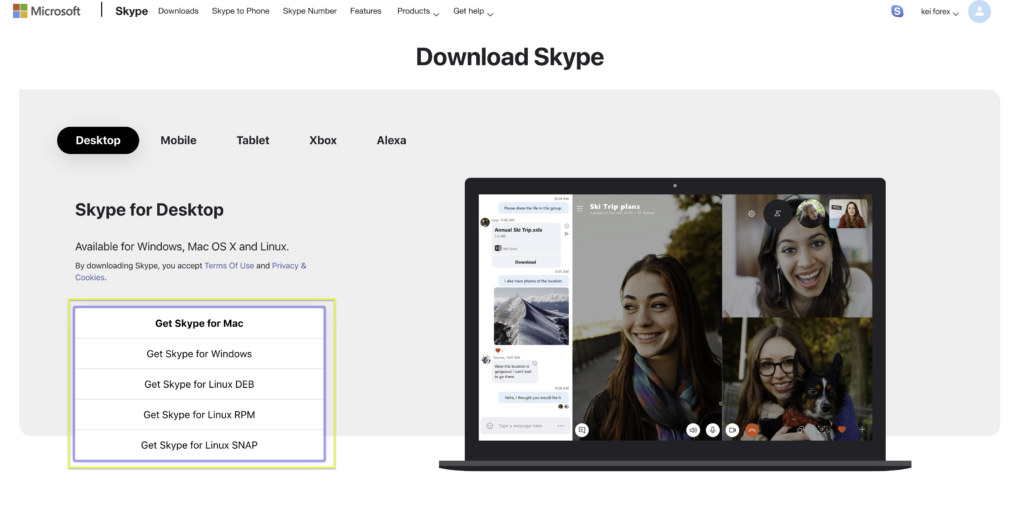
[btn]Download Page (Skype Official Website)[/btn]STEP 2: Choose your PC and start downloading
[colwrap] [col2]Click the “device select” and choose your PC[/col2] [col2]
STEP 3:Start installing Skype
[colwrap] [col2]Follow the instruction and install the software. Wait until it’s completed.
[/col2] [col2]
For any further inquiries, please contact with Skype Support Team.
[btn class=”big”]Skype Support Team[/btn]